I have a prototype called ‘Done’. How can I create a new note that automatically sets ‘Done’ as the prototype (without using container and $OnAdd)?
Thank you!
I have a prototype called ‘Done’. How can I create a new note that automatically sets ‘Done’ as the prototype (without using container and $OnAdd)?
Thank you!
You can’t_at least not automatically as any new note has no prototype assigned, i.e. the $Prototype value is empty ("") so something, some trigger has to assign a non-default prototype to a new note.
Yes, you could set the document’s default value for the $Prototype attribute to “Done” but now you have different problem as now every new note will have that prototype and i’m pretty sure that isn’t your intent.
However there are lots of ways of setting a prototype, but we don’t have enough information about your problem area, the view typ(e) you working in, and the criteria for a note being ‘done’, to know if any of those other methods might b e the solution.
What is your objection to using an $OnAdd? Understanding that miht help us understand the real underlying problem.
@mwra Thank you!
Incidentally, for this particular file, I would like every note to have ’Done’ as the prototype. How would go about setting the default value for $Prototype as ‘Done’ for the file. Many thanks!
(I like $OnAdd in other contexts. However, for this file, I would like to have all the notes on the same level)
Many thanks!
I’d add an agent:
query: $Prototype==""
Action: $Prototype="Done";
@eastgate! Thank you!
I have added the Agent. When I create a new note, nothing seems to change.
Thank you!
2025_09_27.tbx (242.9 KB)
The Agent had not worked because the quotes were turned into smart quotes. Once I have disabled smart quotes, the Agent works! Thank you!
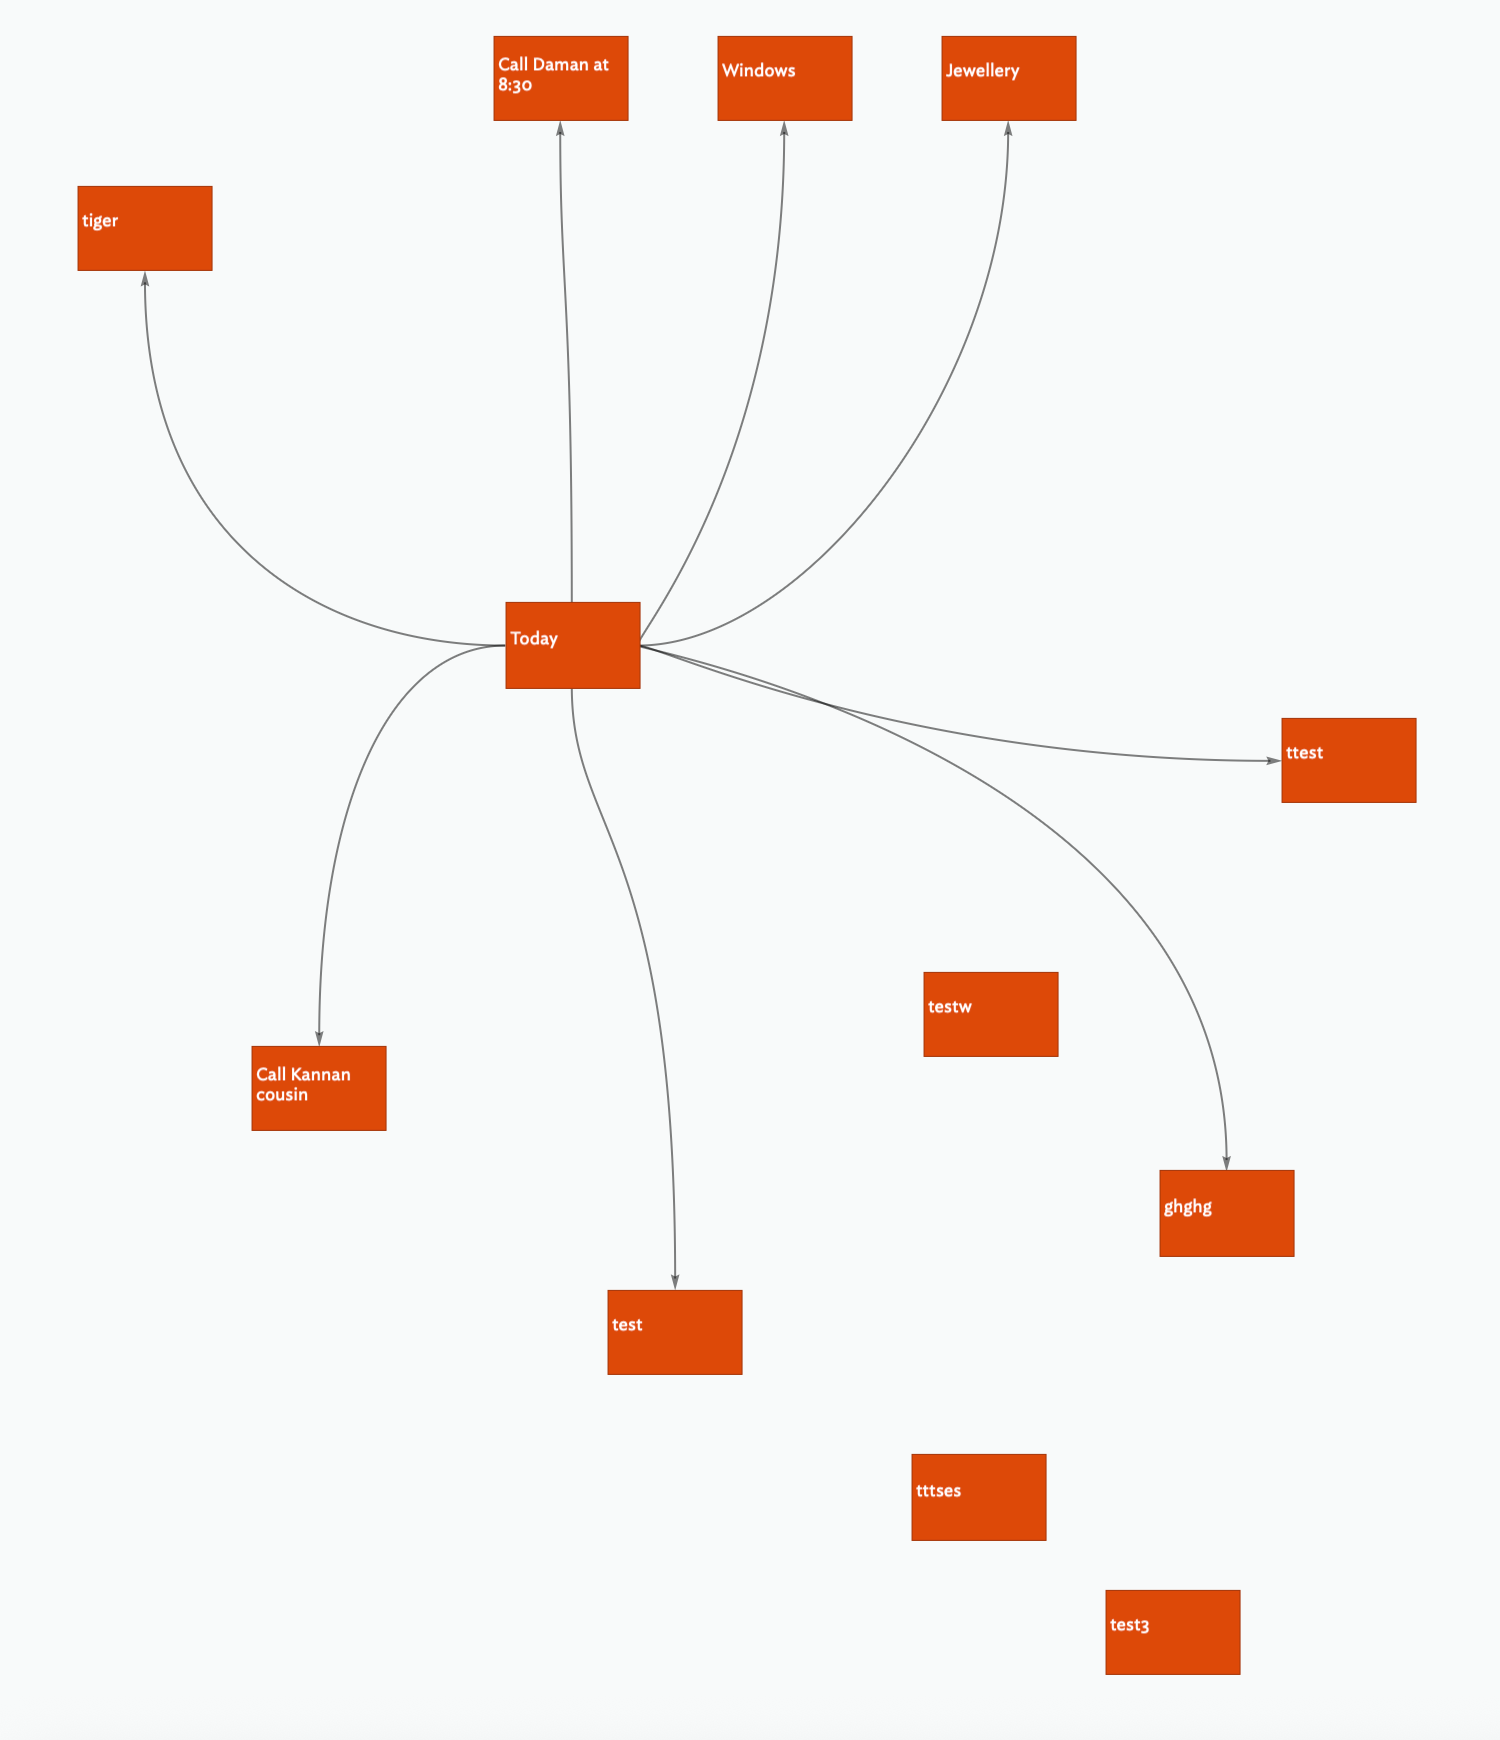
However, creating the Agent leads to a tiered system.
I am keen for a new note that I create in the root automatically assigned ‘Done’ prototype.
Cheers!
How? If a note is added at root, the agent detects it as the new note’s $Prototype value is "". The agent action sets the note’s $Prototype to Done. The note now no longer matches the agent’ query and its alias inside the agent is deleted. No hierarchy.
NOTE: do not mess with content nested in app-generated root containers like
/Hints,/Prototypesand/Templates, they are best left nested.
OK, but just because a new TBX opens with a root level map you aren’t forced to only use that, especially given your needs. But we can fix that. Working with your document, I changed these:
$Prototype=="Done";.The root map now look like this:
I click the ‘+’ button on the tab bar and make a new tap. As the current view is a map, the new tab uses the same view type and scope. I double-click the Content’ container. Ta-da, we see your original map:
Now you have everything in your map and structural things like the Prototypes container are still there but ‘hidden’ on a different map. You can see that by checking the outline view tab.
This is a good example of why building everything on the default root map is not necessarily useful‡. Now instead of not being able to set an OnAdd for root level, you have the functionality.
A point often missed is a map is the contents of a single container. By default, in a new TBX with no content, the map is of the root outline container. But whilst a map view can show only one container, the latter can be any container in the existing outline.
Here is your file with the started alteration: 2025_09_27-v2.tbx (262.3 KB). The first tab shows the root map. The second tab (selected) shows your original map content moved into the ‘content’ container’s map. The third tap shows the document’s outline showing you the relative position of the two maps in the overall document.
†. This ensures the container is generated with the expected attribute customisations.
‡. It is also useful if you intend to export content, even if not at this stage of your project.
Sorry: What do you mean by a tiered system in this context?
It might help to know more about the problem you’re trying to solve….
@mwra Amazing! Thank you for kindly explaining the logic and powerful features of the Tinderbox and for the revised file! Wishing you a great day!
@eastgate Thank you! In this particular case I wanted to use Tinderbox as a MindMap with features (i.e. when I checked the $Done, the colour of the note changes.
The solution of Agents that you advised and, the solution by @mwra neatly solves what I was looking for!
Thank you again!
@mwra In the file that you kindly revised I adjusted the width of the textpane. Howvever, it automatically adjusts the width to the original setting.
(It might be that before I had uploaded the file for you to examine, I might have inadvertantly changed some setting which leads for the textpane window to automatically readjusts to a particular setting?!)
When I closed tbx and restarted the problem with adjusting the width had disappeared. All is working as expected.
If you can, please send me this document. Another user has the same problem, but it’s in a document he cannot share. We’ve not been able to reproduce the issue.